Making your film 4 min read
How to Make a Wedding Video from Photos
To make a wedding video from photos, start with a moment you both remember. Pick three images that show where it happened, what changed, and where you are now. Put them in order, watch the cut without sound, and export a test file for your venue.
In this guide
1. Write your story in three sentences
- We met when… Give your guests a place and a moment they can picture.
- Things changed when… Choose one action, exchange, or decision that brought you closer.
- We still… End with an image that connects that first meeting to your life now.
Read the sentences to someone who has never heard the story. If they ask where you are or why the moment matters, add that detail to your outline. If they ask about a side character, you may be able to leave that part out.
2. Match your photos to the story
Gather a clear photo of each of you, one of you together, and any pictures that show the place or a meaningful object. Pick one image for each part of the story. A photo of the diner sets the scene. A handwritten order gives guests a detail to notice. A recent photo in the same booth shows where you are now.
Use the original files when you have them, especially if you want to crop in on a detail. Missing a photo of the day you met? Try a picture of the place, a short title card, or a close-up of an object you both remember.
3. Turn your photos into a three-shot rough cut
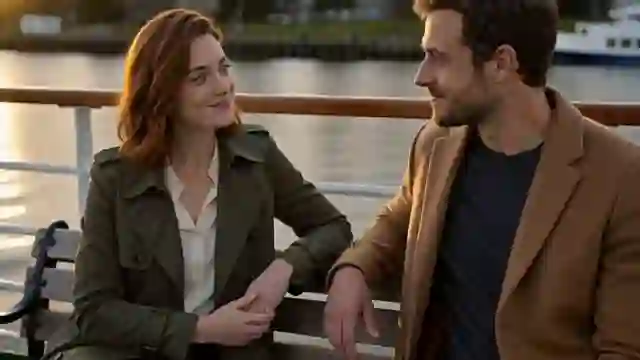
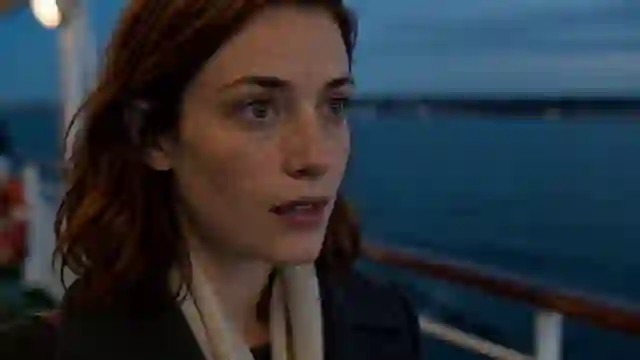
Watch The Last Ferry, our 15-second sample. In this fictional scene, a small gesture gives Claire and Owen a reason to look up. The ending brings them back to the ferry years later. Watch what changes in the light and how they look at each other.
| Time | Shot | What it tells the audience |
|---|---|---|
| 0–5 seconds | Owen reaches toward Claire’s sketch | An ordinary gesture brings them together |
| 5–10 seconds | Claire looks up and smiles | The first meeting matters to her |
| 10–15 seconds | Claire and Owen sit together on the ferry again | The first meeting has become a shared memory |
Try the same structure in a video editor with the photos you already have.
- Open a 16:9 project for a widescreen display. Give each image about five seconds so you have time to judge the pacing.
- Check the crop on each image. If a tall photo loses a face when it fills the screen, fit the whole photo inside the frame and use a plain background.
- Use simple cuts between images. If the first image needs a place or date, add a short title and leave it up long enough to read once.
- Play the rough cut without sound for someone who hasn’t heard the story. Ask where it starts and what changes. Fix the first moment that confused them before adding music or more scenes.
4. Export and test the video for your reception
Ask your venue or DJ which file format, screen shape, and audio setup they use. If they ask for a widescreen MP4, export at 16:9 and play the file outside your editor. At the venue, check the opening title from the back of the room and listen through the speakers. Bring a backup copy and give the operator a clear cue for when to play it.
If you’re sending it to friends, send the film to yourself first and watch it on your phone. Check that the opening makes sense without an introduction and that any on-screen text is readable at that size.
Still choosing what to make? Pick a reception video idea before you collect more photos.